|
After a wonderful summer break, I am guessing most of us are going back to teaching this week. I have been really looking forward to seeing all my students again, which must be a sign that I enjoyed a rejuvenating holiday! What I love about this time of the year is that every student comes through the door with a renewed enthusiasm for learning, and the delight of seeing them standing a smoot higher than the previous year! The beginning of a new year is also a good time to establish a routine to encourage the practice of some of the “less popular” (or indeed, least popular) aspects of piano learning. I’m talking about scales. Arpeggios. Broken Chords. Sight reading. Theory. As I imagined myself repeating the above elements to my students, I pictured the smiles on their faces fading away, and their newly-gained stature starting to deflate. Those are not the words most students want to hear on their first lesson back. We have to find a more engaging way to get students to master these components of piano learning without them pouting over it! A little studio challenge I am setting up for all my students this term is the “Around the World Key Signature Challenge”. I have done this a few times throughout the years already, and this is what the “challenge” looks like: 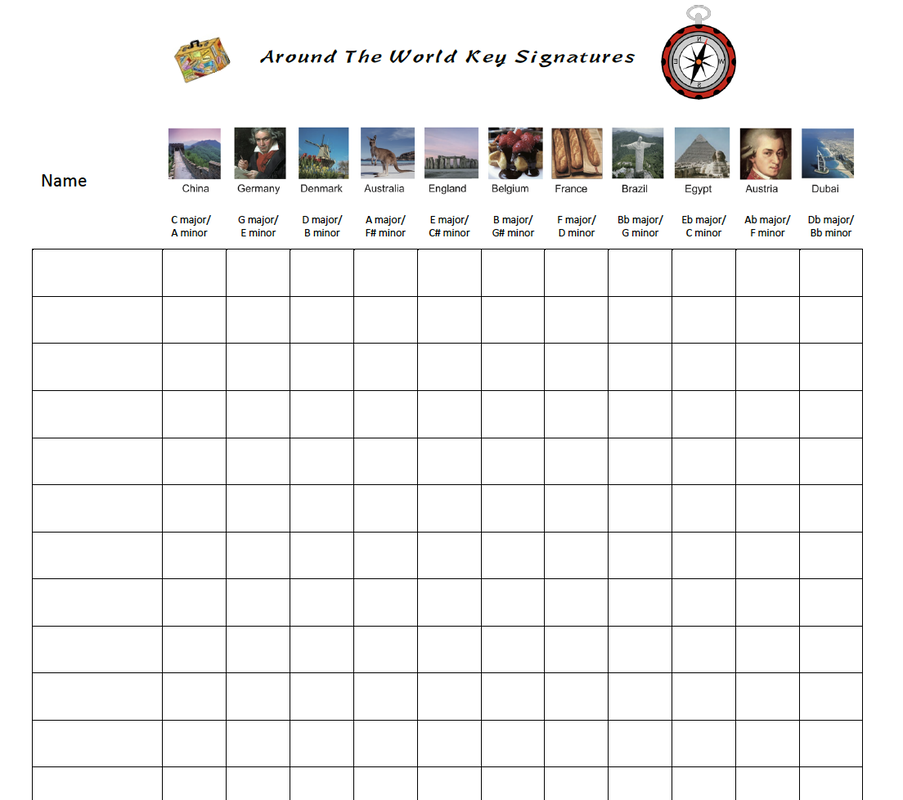 Objective of the challenge: The first student who collects a stamp for all 11 countries wins the grand prize, and every other student who collects a stamp for all 11 countries by the end of term wins a small prize. Learning goal: To explore different key signatures through sightreading and scales. Duration: Term one (Feb- April) Cost: Printing of the Around the World Chart, prizes at your own discretion (I recommend Easter Eggs!) And here is how the conversation usually goes... “Let’s have a look at this term’s studio challenge! What you want to do, is to try and visit all of these countries and collect a stamp for each of them by the end of this term. The first student to collect all of the stamps wins the race and gets the grand prize from me, and everyone else that has all of the countries stamped by the end of this term will get a small mystery gift from me.”
If you get this kind of response from your student, you know you have them “hooked”. It is then time to lay down the terms and conditions: To earn a stamp for a country, a student has to complete a series of tasks for its correlated key signature. Depending on the level of the student, I will differ the tasks to reinforce pre-existing knowledge and skills, as well as nudging them a small step forward to stimulate their learning. I would recommend teachers adjust the requirements for each student slightly each week to optimise the learning experience, but here I have included some examples of what I might do for the different levels: Beginners
Grade 1-2
Grade 3-5
Grade 6-8
I tend to be flexible and alter the weekly task for each student, adding, subtracting or swapping activities depending on how much a particular student can process in a week. A good rule of thumb is that if this assignment takes more than 1/4 of a student’s daily practice routine for them to accomplish then chances are, they are going to be put off rather than encouraged to explore these keys. So, for a grade 3 student who practices 40 minutes a day, I may include Noterush, a natural minor scale, and blocked chords. But for a grade 8 student who practices an hour a day, I might include Noterush, sightreading, chromatic scales a third a part, and a contrary motion arpeggio. It is important to find the balance - we want a student to feel like they are slightly challenged, but they still believe they can succeed and get that stamp by the following week. So, it is crucial to adjust the “difficulty” setting for each student. I have done this challenge a few times in the past years, and although not every single student would finish the race, it really does benefit the majority of students in my studio. Last year there were 9 students out of 35 in the studio who ended up learning 12 keys or more in 10 weeks' time as a result of it. It was also the only time I got asked by students if they could do more than one scale that week because they really want to “win the race”! I always think if such challenges get even one student excited about learning more key signatures, then it is well worth the effort. Happy teaching! Melody
0 Comments
A masterclass on breathing techniques to overcome performance anxiety, and a witty way to answer a curly question to young students. This week I attended the IRMTNZ Annual Conference in Dunedin. One of the highlights of the conference for me was Bridget Douglas’ masterclass. As a pianist and piano teacher, I have always been interested in how other instruments are learnt and taught, as I find lessons conducted by the top teachers of any instrument often spark inspiration and revelation to my own playing and teaching. Although I have never met Bridget in person prior to this conference, her name has always been familiar. Bridget is considered as one of the top performing flautists in New Zealand. She is currently the principle flute in the New Zealand Symphony Orchestra and the Artist Teacher at Victoria University in Wellington. It was a treat to finally see her in action – her exquisite presence, exceptionally good posture and reassuring smile led me to imagine if Disney was doing a live-action movie about classical musicians, she would be casted as the “flute-goddess”. And of course, one who has met Bridget cannot mention her without remarking on her dazzling head of hair. 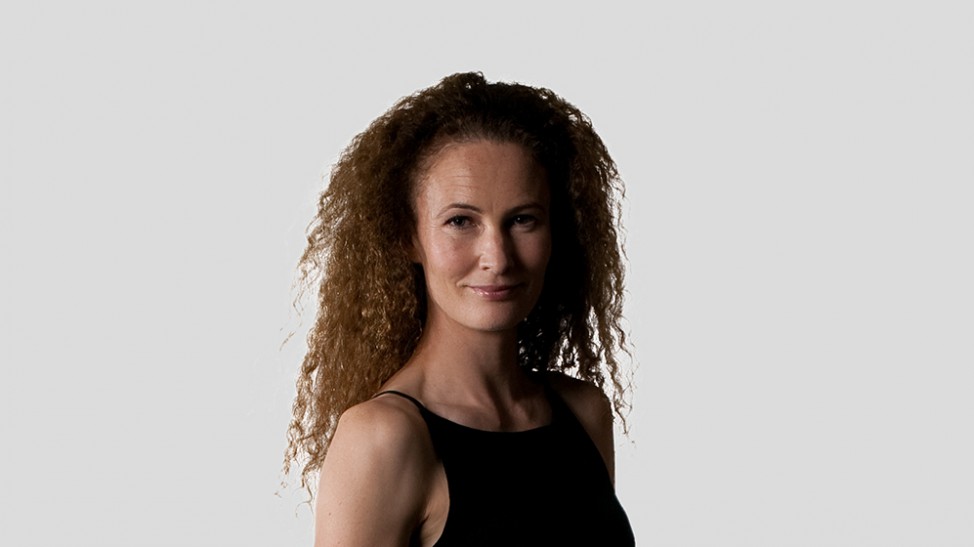 NZSO section principal flautist Bridget Douglas Retrieved from https://www.nzso.co.nz/new-zealands-orchestra/meet-the-players/bridget-douglas/ In the masterclass, a young student performed a grade 5 piece, “Violetta’s Aria” by Verdi on the flute. The student played with a good deal of musical sensitivity, and it is clear she knew this piece very well. It is never easy however for anyone to get up in front of room full of music teachers and play, and we could unquestionably hear her nerves intermingled into her timid sound. Bridget explained to the audiences who were not wind players that the breath is everything on the flute. The breath not only determines the length of the sound, but also the quality of the tone – from the biggest sounds down to the subtlest nuances and colours. Therefore, it is crucial any wind player knows how to breathe. Not just any sort of breathing, but deep breathing. Knowing how to deep breathe, not only help wind players have better control over their instrument, it can also benefit any instrumentalist when it comes to dealing with performance anxiety. Many studies have shown that slow, controlled deep breaths help to alleviate physiological symptoms of performance anxiety, such as an increase in heart rate, as well as emotion regulation whereas short, shallow breathing actually contributes to an unfavourable intensification of these symptoms (see this recent Australian Study). So now that we all know the importance of deep breathing, how exactly do we do it and what does it feel like? Bridget had the perfect method:
Now, breathe in, feel the cold air brushing past your lips, then exhale. Step two: this time relax your lips and inhale. Concentrate on the feeling of cold air brushing past your teeth (ouchies for those like me who have sensitive teeth!), then exhale. Step three: wrap your lips loosely around your teeth again if you have sensitive teeth and feel the cold air swishing past your tongue this time, then exhale. Can you feel how your breath is getting deeper and longer? Good! You are on the right track! Step four: repeat step three but focus on the feeling of cold air running down the back of your throat and visualise the air going straight down to your pelvis, then exhale. Now how does that feel? Can you feel the difference between the “teeth” version and the “throat” version? Step five: now check your upper body posture. How is your posture now? Are you feeling more of an openness across your chest? Are you sitting/standing with a better posture? I found this to be such an effective way to demonstrate and teach anyone about deep breathing. Once a student knows what it feels like to deep breathe, then ask them to breathe in for 4 seconds, hold for 4 seconds, breathe out for 4 seconds, hold for 4 seconds. This is called “Square breathing”. On a separate note, a little anecdote I had to share with you… have you ever tried to explain a piece or character to a young student, but the subject of your account is most definitely R16 or R18? In this masterclass, in order to get the student to be more expressive with her phrasing, articulation and dynamics, Bridget had the delicate job of informing the young student the identity of Violetta, our protagonist in the opera. Bridget explained to the student the main character of the piece, who the student is supposed to embody and communicate through her playing, Violetta, is a courtesan.  Image retrieved from https://uknow.uky.edu/arts-culture/uk-opera-theatre-start-season-verdi-s-la-traviata “Do you know what a courtesan is?” asked Bridget optimistically.
The student shook her head. I swear I remember Bridget looking around the room with a slightly devious smile (I could have imagined it): “A courtesan is usually someone who is... very free with her love.” The room burst into laughter. “A courtesan also has lots of boyfriends, and most of them are very rich men.” The student smiled. “In this piece, I think Violetta is singing about how much she would like to be free and not get tied-down. You know, she is not the marrying type!” Another rupture of laughter from the audience! So, there you go. If you ever find yourself in the situation where you have to describe to someone a “passionate” character, and they are too young to see Dangerous Beauty, a good word to use is “free”. Melody Upcoming seminar on teaching intermediate to early advanced students through story telling If you live anywhere near Dunedin, New Zealand, I would love to invite you to join me in the IRMTNZ National Conference, from the 21st -25th, January 2019. I am superpsyched to be presenting in the upcoming IRMTNZ Conference on the 22nd of January, 2019, at 2.50pm. This time I want to share how to engage and motivate students to love… Sonatinas! Here is the title and description of my session: From Sonatina to Cinderella: enhancing expressive playing through story-telling Classical Sonatinas can be perceived by students as old-fashioned and dull. In this session, Melody will use the findings in her recent Master’s research to demonstrate how to incorporate story-telling, modelling and other pedagogical tools to help students engage with the Classical repertoire. She will show how to formulate seemingly unimaginative genres into animating fairy-tales or superhero chronicles, at the same time taking a holistic approach to developing technique, theory and musicianship. Intrigued? Read on to find out more!  Any piano teacher of the 21st century would be well aware that Classical Sonatinas may not be the favourite genre of music to learn and play in your studio. There are always the exceptional few that love playing them as much as the next piece, but chances are, most students tend to learn them because “the teacher said I had to do it”, and the remaining few will defiantly avoid the genre at all cost. I once asked a 12 year old student why he didn’t learn the notes of a the new piece for that week, and he said, “I didn’t like the sound of it. It is really old- fashioned.”. Yep, you guessed it, the piece was a Sonatina. So why do some students perceive these mini classical gems as old- fashioned and dull? And is it possible to formulate these seemingly unimaginative genre of music into something kids find exciting to play? In this seminar I am here to explore some answers. First of all, I want to start by saying that I love the Classical Sonatinas and Sonatas. Out of all the genres in Western Classical Music, I just “get” the Classical pieces more than others. Maybe it is because I could always see myself fangirling Mozart if I lived in the 1800’s, or perhaps I just associate them with all the witty and handsome Austenian characters. I am definitely not impartial when it comes to the charm of the music of the Classical Period.  Possibly it is my own biases, but I really do think that Sonatinas are indispensable pedagogical pieces for any budding pianists wanting improve their skills and musicianship. Below are just some of the benefits of learning and playing Sonatinas:
As a teacher, I really do not see how it is possible for students to advance smoothly to something like the Pathétique Sonata without having gone through at least two dozen Sonatinas and “entry level” Sonatas. So here are some of the reasons I thought of that might be hindering student’s enthusiasm towards these pieces, compared to the more “popular” genres:
Now, we cannot control what kids are exposed to outside of their piano lessons, but what we can do is to help kids relate to the music they initially find boring and difficult to understand, and turn them into something they can appreciate and love. The beauty of a Sonatina is that because the titles are all the same, we can help children interpret them into a narrative their imagination can fathom and discover. When they can do so, you can instantly see their eyes brightening up and faces starting to beam, as they find themselves suddenly able to bring to life, a previously monotonous scale passage because it is now a part of a meaningful story. Even the same piece of Sonatina can be tailored to suit each individual student.
In this upcoming seminar, I will demonstrate how I help students to create their own exclusive story lines to help them connect with the music, as well as tips on how to use storytelling to improve technique and enrich their theoretical knowledge. I will also include a “fool-proof” guide to help teachers find the most engaging narrative for individual students. Head to the conference website to register: https://www.ivvy.com.au/event/IRMT19/home-page.html A video of my seminar and handouts will be available on my website after the conference – look out for future updates on the blog! Melody A Creative Piano Teaching Activity to Encourage Productivity I have a studio of about 40 students, with a wide range of ages and abilities, and on the whole are an absolute pleasure to teach. I have been building the studio across the last 10 years with an aim to cultivate a balance between work ethic and creativity in my students as well as modelling these traits within my own teaching. Most students of mine practice at least six days a week and learn large numbers of pieces per year. Beginner students complete 80-100 pieces a year, and intermediate students complete 30-50 pieces a year depending on their level of playing. I think it is safe to say my students are all passionate about learning new music! Read more about the 40 piece challenge on Tim Topham's blog! One of the biggest challenges I face as a teacher with students working on a lot of new repertoire is that many students attempt to learn a little too fast, getting caught up in the excitement and novelty of learning new music each week. The consequence of this is we end up spending a lot of the lesson time pointing out the mistakes the students have made in their learning. Silly, clumsy mistakes they can absolutely avoid if more care was taken in their practice. Some common note learning mistakes include: not noticing rests, wrong notes and rhythms (in seemingly straight-forward pieces), blatantly ignoring simple articulation and musical directions and so on. Furthermore, because the students are eager practicers, when they have learnt something incorrectly and practiced it incorrectly for an entire week, the well-practiced mistakes have sunk in so well in their memories that it takes us a painstakingly long time to correct them. Creative Piano TeachingBeing a teacher who believes the best changes come from the individuals themselves, I wanted to find a creative piano teaching exercise to encourage the students to be more mindful when learning new notes, not because I asked them to, but because they wanted to. With all going to plan, we can then use the valuable lesson time to improve the more creative and enjoyable aspects of learning, adding character and expression to the music.
Student of the Week Shortly afterwards, the Student of the Week Challenge was born. The rules were simple: any student who learns their assigned piece(s) in one week, hands together, with correct notes and rhythm, gets their picture snapped holding two of their chosen photo props. We then stick the photos on a Student of the Week poster on the studio wall, so everyone who comes into the studio will be able to see their achievements! Here is the poster I designed and printed:  Initially, I had no idea how many students would achieve the Student of the Week each week, and therefore how much the poster was going to get filled up. In fact, I was clueless as to whether the children of 2018 would even find Polaroid cameras cool! In week one of the school term, I explained to all the students in their lessons what the challenge is about, and gave them strict instructions to make sure they learn the piece carefully so they get their pictures snapped the next week. I also gave them tips on HOW to ensure they learn the correct material from the first day:
Students and parents are delighted to be a part of this experiment and we all get a giggle and a cheer when a student picks up the photo props and strike a cheeky pose! Many students were absolutely enchanted by the ‘magic’ of the Polaroid camera. Some of them wouldn’t believe me when I told them the picture would appear after a few minutes. One even thought the Polaroid took a better picture than his mum’s iPhone, which his mum and I both found hilarious. I was really impressed by the number of students that came in the following weeks with significantly more effort put into learning their pieces correctly, especially considering that in the past these same students would make a couple of unnecessary mistakes in every new piece they learnt. Here are some more happy snaps: 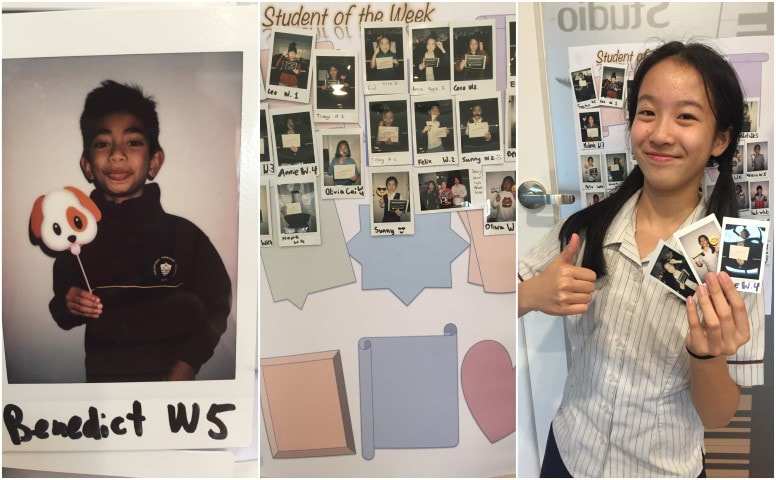 The Result... At the end of the term, our poster was absolutely filled with cheerful portraits! 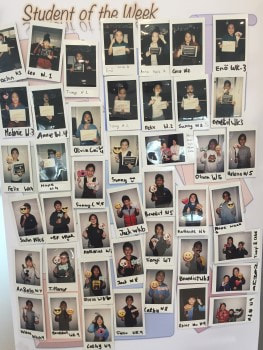 Overall I am really happy with how this experiment went, and here are some thoughts on it at the end of this term:
|
AuthorThis blog post is by Melody Deng Archives
September 2020
Categories
All
|


 RSS Feed
|
©2019 East Coast Bays Piano Studio | All Rights Reserved
|